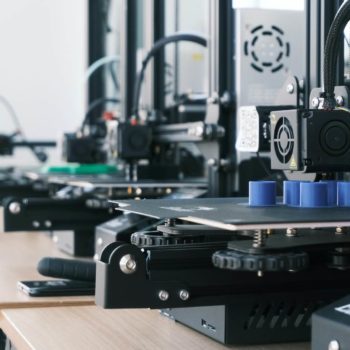
 3D printing is a digital technology that has revolutionized OEM replacement parts along with the spare part industry. However, in this post we will focus in on OEM replacement parts. With product lifecycles becoming shorter and manufacturing advancements happening rapidly, 3D printing has proven itself to be a technology that can stand up to the challenge of producing OEM parts quickly and efficiently.
From 3D Innovations President, Collin Kobayashi, “3D printing is a great solution for producing obsolete parts and can be used for a variety of applications. Understanding the functional requirements will allow the end user or development company to decide which 3D printing method/material is best to meet these functional requirements.”
3D Printing for Replacement Parts
Reproduction of obsolete parts is becoming a common practice with the advancement of 3D printing technology. Where once an older part would break and you would need to replace the entire unit, today, you are now able to effectively replicate OEM replacement parts to save yourself both time and money.
Any part that can be digitized can be 3D printed, so the options are almost endless.
Often times replacement parts will require a high strength/torque or application where the material used for 3D printing isn’t capable of meeting those requirements so it wouldn’t be a good long-term solution. As we have mentioned in previous posts, 3D printing is good for some applications, but may not be a suitable option for others. In our case study below, we utilized 3D printing to test form, fit and function of the OEM replacement part but ultimately went with injection molding to cost effectively produce higher quantities of the part that would last for 10+ years.
Case Study: Custom Window Holder Replacement Part
We recently worked with a condominium association to replicate a window part that was degrading due to heat and UV exposure. These window parts were no longer being produced by the manufacturing company and therefore they were not possible to obtain. Our design team used the existing window holder to reverse engineer a design that could replicate the function while maintaining the structural integrity and thermal property requirements.
Material Selection
Once the part design was created, prototypes were quickly 3D printed to test for form, fit, and function. The material required had to be both durable as well as resistant to heat and sunlight. The material used to produce the prototypes was tested with repeated cycles and found to be effective.
Ultimately, a variation of Nylon was selected that had the best material properties to meet the specifications. Multiple materials were evaluated prior to the molding process, but only one material was used and first article parts were made and tested prior to manufacturing the entire lot. Selecting the best material required communication with the material supplier to see what materials were available that met the project specifications.
3D Printing for Design Testing
The main use and integration of 3D printing was to quickly and economically test the design prior to production manufacturing. The 3D printed prototypes would have most likely held up to the functional use for several years, but we wanted to provide a solution that would last 10+ years.
Manufacturing Method
While this 3D printed part could replicate the originally designed part as is, it would become less cost effective to use 3D printing for manufacturing since more than several hundred windows would require the replacement part. The new custom window holder was designed more efficiently to reduce cost while utilizing a material that will hold up to the physical and environmental factors that it will be exposed to.
3D Printing is a good option for just a few parts, but low volume manufacturing will likely be the better option for high quantity requirements.
To cost effectively produce higher quantities, the injection molding process was used. With a vast variety of materials to choose from, the environmental requirements were used to select the appropriate material.
Timeframe for Designing, Testing and Manufacturing OEM Replacement Parts
The timeframe from design to finished manufactured part was approximately 8 weeks. This timeframe included the initial design, prototyping, and testing which was done in less than two weeks. The remainder of the time was to get production molds made, first article parts produced/inspected/tested, and the full production lot of parts produced. This is typically the timeframe for a custom design/high production manufacturing project.
The parts were successfully produced and installed to eliminate the prior issues that were present with the existing window part.
Have additional questions about OEM replacement parts? Send us an email at info@3d-innovations.com
Read more 3D Innovations Case Studies here.
_____
3D Innovations is a Product Development Company – from the 3D Design to a fully functional 3D Prototype & Product.
Subscribe to the 3D Innovations newsletter on our Facebook page!

